How to Find and Delete Unused Images in WordPress Without Breaking Your Site
The Unattached filter in the WordPress Media Library is not a list of unused images. Here is the safe way to clean up years of old media: back up, scan for real usage, review, delete in batches, and check the site afterwards.
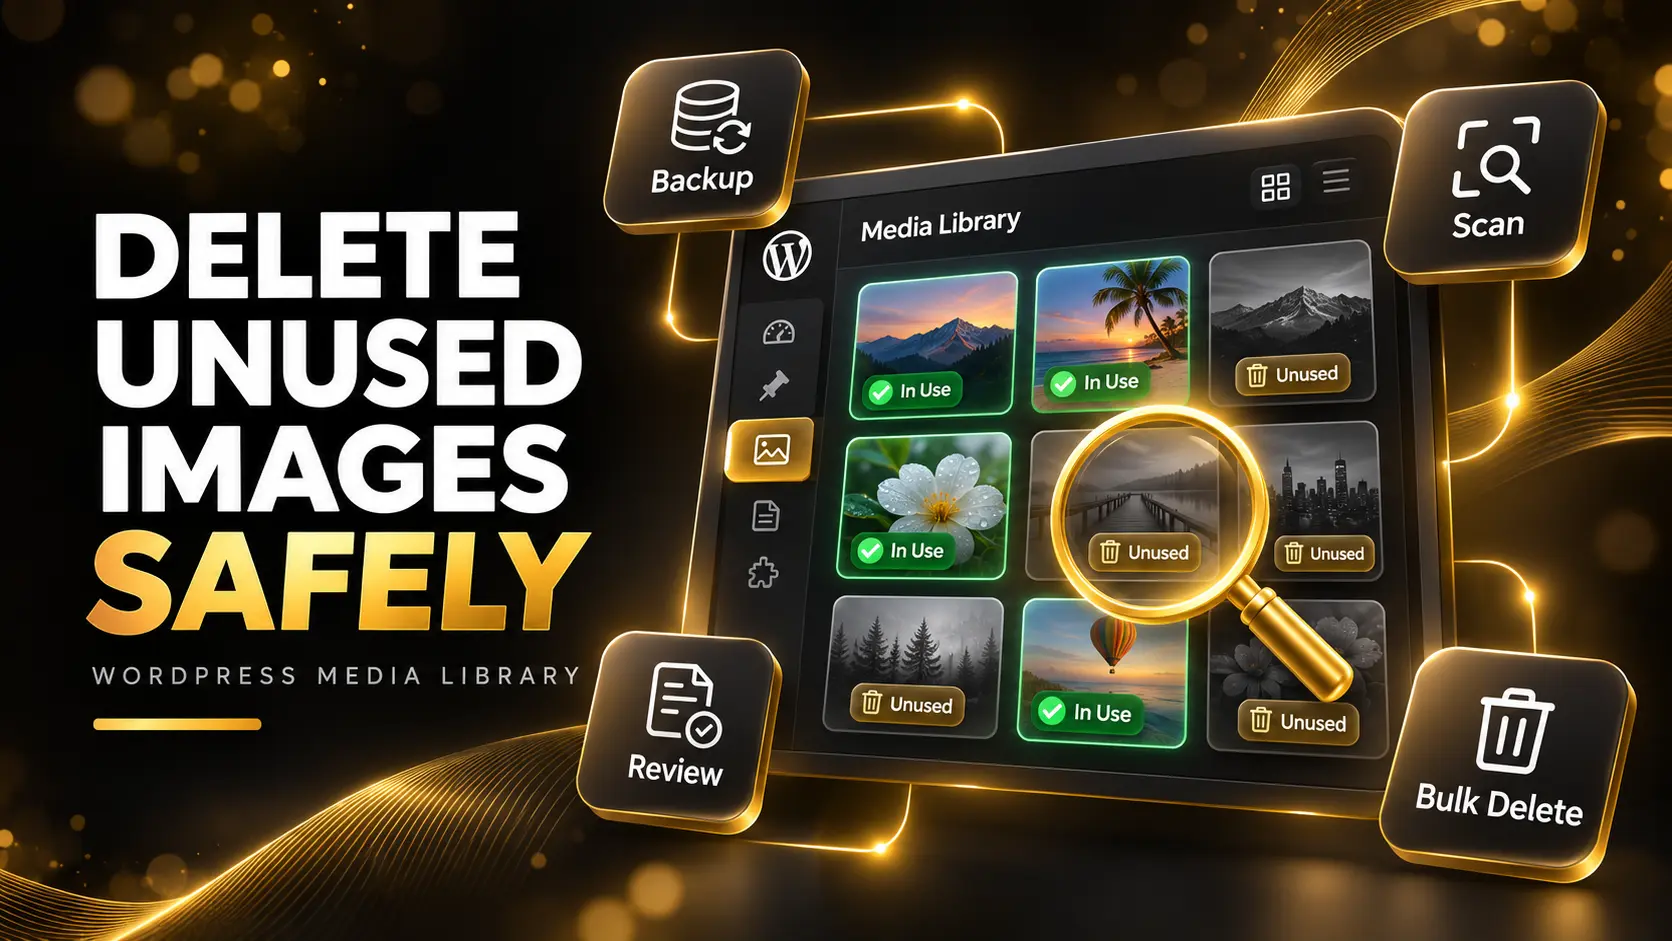
Open the Media Library on almost any WordPress site that is a few years old and you will find the same thing: thousands of images, and nobody knows which ones are still used.
Old banners from a redesign. Product photos from items that were deleted years ago. Five versions of the same logo. Screenshots someone uploaded for a blog post that was never published.
They take up hosting space, make backups slower and bigger, and make the Media Library painful to search. The obvious fix is to delete them.
The problem is that deleting the wrong image breaks a live page, and WordPress doesn't make it easy to tell which is which.
Why "Unattached" Doesn't Mean "Unused"
The first thing most people try is the Unattached filter in the Media Library. It looks like a list of unused images. It isn't.
WordPress marks an image as attached to the post it was first uploaded to. That's all. It doesn't track where the image is used afterwards.
So an image can show as unattached and still be:
- Used in a page built with a page builder like Elementor.
- Set as the site logo or favicon in the Customizer.
- Inside a widget, a menu, or a theme options panel.
- Used as a WooCommerce product gallery image.
- Inserted into a post that is different from the one it was uploaded to.
And the opposite is true too. An image can be attached to a post and not actually appear anywhere on it anymore.
Deleting everything in the Unattached list is the quickest way to break a site. I've been asked to fix exactly that more than once.
Where WordPress Images Actually Get Used
To know if an image is safe to delete, you have to check everywhere it could be referenced:
- Post and page content, including the image URL inside the HTML.
- Featured images on posts, pages, and custom post types.
- Page builder data, which is often stored in post meta rather than the content.
- WooCommerce product images and galleries.
- Theme settings such as the logo, header image, and background.
- Widgets and menus.
- Custom fields from plugins like ACF.
Checking all of that by hand, for every image, isn't realistic once a library has more than a few hundred files.
Step 1: Take a Full Backup First
Before you delete a single file, take a full backup of both the database and the uploads folder, and make sure you know how to restore it.
Deleting media is permanent. WordPress removes the file from the server and the attachment from the database. There is no trash to restore from.
If your host offers staging, do the cleanup on staging first, check the site, and then repeat on live.
Step 2: Scan to See What Is Actually in Use
You need a tool that checks where each image is referenced, not just whether it is attached.
I ran into this on client sites often enough that I built a free plugin for it: Media Usage Scanner. It scans the Media Library, shows which images are in use and which ones may be unused, and lets you see where an image is referenced before you decide anything.
The important word there is may. No scanner can see every possible place an image could be used, especially on sites with custom code. Treat the unused list as a list to review, not a list to delete blindly.
Step 3: Review Before You Delete
Go through the unused list with the site open in another tab. A few things to watch for:
- Logos and icons. If an image looks like part of the brand, check the header, footer, and favicon before removing it.
- Images referenced in custom code. Some themes and plugins load images by hard coded URL. A scanner may not find these.
- Images used in emails. Email templates and newsletters often link to images on your site. Deleting them breaks old emails.
- Images linked from other websites. If another site embeds your image, it will stop showing there.
When in doubt, leave it. One extra image costs nothing. A broken page costs a lot more.
Step 4: Delete in Small Batches
Don't delete everything at once, even if the list looks clean.
Delete a batch, then check the main pages of the site: home, key landing pages, a few posts, the shop, and a product page. If everything looks right, delete the next batch.
Media Usage Scanner checks each image again right before it is deleted, which reduces the chance of removing something that started being used after the scan. It's still worth doing it in batches so that if something does go wrong, you know which batch caused it.
Step 5: Check the Site Afterwards
Once you've finished:
- Clear your site cache and CDN cache.
- Browse the main pages on desktop and mobile.
- Run a broken link check to catch any missing images.
- Check your hosting disk usage to confirm the space was freed.
If something is missing, restore that one image from your backup rather than rolling back the whole site.
How to Keep the Library Clean Going Forward
Cleaning up once is good. Not having to do it again is better.
- Resize images before uploading. A 6000 pixel photo from a phone doesn't need to be on a website.
- Use descriptive file names so you can tell what an image is without opening it.
- Delete images when you delete the content they were uploaded for, if they aren't used anywhere else.
- Run a scan every few months, especially after a redesign.
Final Thoughts
An oversized Media Library is one of those problems that grows quietly until hosting space runs out or backups start failing.
Cleaning it up is safe as long as you follow the order: back up, scan, review, delete in batches, and check. The tool helps you find the candidates. The review step is what keeps your site from breaking.
Media Usage Scanner is free to use on unlimited websites. If you need help with a larger cleanup or a slow WordPress site, ask me a question or take a look at my services.